Optimal Lighting Conditions for Robot Vacuum Navigation
By Mateo Lin • 6th Jun
Why Lighting Matters More Than Your Robot's Spec Sheet Admits
If your robot vacuum keeps missing spots, getting lost, or deleting its map, your optimal lighting conditions at home are probably as important as the robot's suction rating. For any model using cameras for mapping or obstacle detection, robot navigation optimization starts with how your rooms are lit, not just what's in the app.
Manufacturers rarely talk about this. But in real homes (hallways, scattered toys, dark rugs, bright windows), light can add 10-30 minutes of extra cleaning time per run or double your rescue rate, even when the robot is "smart" on paper.
Navigation Tech vs Light: What Actually Depends on Illumination?
Let's start with the core comparison: not all robot vacuums care about light equally. For a deeper dive into LiDAR vs camera systems, see our navigation explainer.
1. Camera-based navigation (vSLAM, RGB or monochrome cameras)
These bots "see" your home through one or more cameras on top or front. They build maps from visual features like edges, corners, and texture on walls and floors (classic camera-based navigation).
From industrial robot vision research, we know cameras perform best when lighting is consistent, controlled, and high-contrast on the features that matter. (2, 4, 8) In factories, engineers use diffused LEDs, filters, and enclosure panels precisely to avoid wild shadows, glare, and sun patches. (2, 6, 8, 15)
Translate that to your living room:
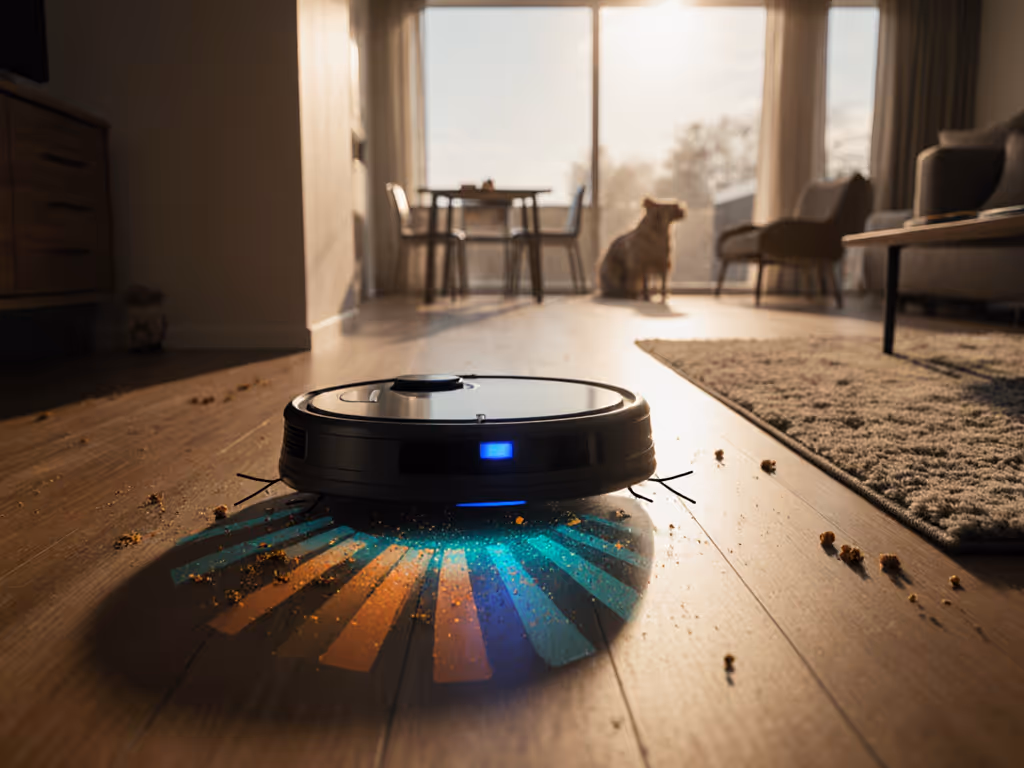
- Sudden patches of sunlight across a dark rug
- TV glare on a glossy floor
- A single lamp creating hard shadows under chair legs
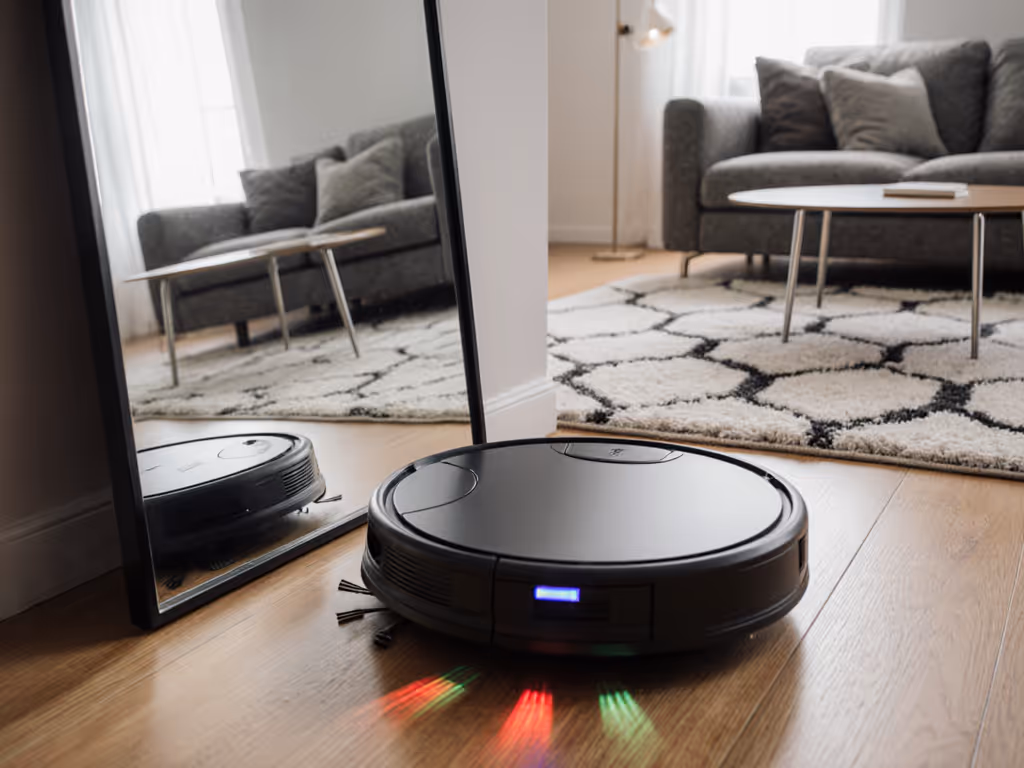
All of these make it harder for the robot's camera to track where it is. In my hallway tests, changing nothing but the light (blinds open vs half-closed vs lamp-only) changed map stability and miss rate more than switching between "eco" and "turbo" suction.
Test the bot where life actually happens, not the lab.
2. LiDAR-based navigation (rotating laser dome)
LiDAR uses infrared lasers to measure distance; it does not depend on visible light in the same way. Ambient lighting and sunlight affect it far less than cameras, though strong direct sun can sometimes add noise.
For LiDAR bots:
- Light mainly affects downward sensors (cliff sensors, sometimes color cameras) and front obstacle cameras if present.
- Navigation itself is mostly fine in the dark; mapping errors usually come from reflective surfaces or narrow spaces, not room brightness.
If your robot has a spinning dome on top and no obvious front camera, you can usually run it at night with lights off without navigation collapse.
3. Hybrid systems (LiDAR + camera obstacle avoidance)
Many current flagships combine LiDAR for mapping with front cameras or structured light for obstacle avoidance (shoes, cables, pet waste). These do care about light:
- Map stays stable in the dark (LiDAR), but
- Obstacle avoidance may mis-detect or ignore low-contrast objects in dim light.
In other words: the robot may know your layout but still run over a dark sock if your only light source is a dim lamp behind the sofa. If low-light performance is critical, compare models in our obstacle avoidance low-light guide.
Comparing Common Home Lighting Scenarios
Here's how typical lighting setups stack up for navigation light optimization across different robot types.
| Lighting scenario | Camera-only nav | LiDAR-only nav | Hybrid (LiDAR + camera) |
|---|---|---|---|
| Bright but uneven daylight (sun patches) | Higher map drift, more rescues | Mostly fine; minor sensor glare risk | Good map, obstacle camera less reliable in glare |
| Soft, even daylight (blinds diffusing sun) | Most stable mapping & routes | Excellent | Excellent |
| Overhead ceiling lights, evenly spaced | Good; watch for glossy floor glare | Excellent | Excellent |
| One bright lamp + dark corners | Missed zones, weird paths | Good navigation, cliff sensors OK-ish | Map OK, obstacle detection weaker in shadows |
| Almost dark (night, no lights) | Map failures likely, lost robot | Usually fine | Map fine, obstacle camera almost blind |
| TV-only or window-only light | Unreliable, especially glossy floors | Mostly fine | Obstacle camera prone to false negatives |
If you want predictable time savings, aim for lighting conditions in the second and third rows during your scheduled runs. You don't need studio lighting, just even, boring light.
What Machine Vision Labs Recommend (And How That Maps to Your Living Room)
Industrial robot vision teams spend years tweaking lighting. Their playbook translates surprisingly well to illumination for robot vacuum navigation.
Key principles:
- Control contrast where it matters
Machine vision guidelines say to maximize contrast on the features you want to detect and minimize contrast elsewhere. (2, 8) For your robot, those features are walls, furniture edges, and floor patterns.
At home, that means:
- Avoid extreme light stripes on the floor from bare windows.
- Use blinds or curtains to smooth out sun patches.
- A single overhead or pair of ceiling lights per room is often better than a bright lamp aimed at the floor.
- Diffuse the light to reduce shadows and glare
Factories use diffused LEDs and soft panels to keep lighting uniform across the camera's field of view. (6, 8, 15) That same thinking helps a robot vacuum's camera:
- Choose frosted bulbs or shades instead of naked point lights.
- If you have glossy hardwood, avoid spotlights that create mirror-like reflections; this can confuse edge detection (6).
- Place light "behind the camera," not in its face
For active illumination, it is generally best to position light sources near or behind the camera, not shining directly toward it (4). For robot vacuums, that translates to:
- Avoid putting a powerful floor lamp directly opposite a front camera; it can wash out the image.
- Overhead ceiling lights or lights behind the robot's starting zone are usually better than floor-level lights facing it.
- Test multiple setups; there is no perfect formula
Machine vision practitioners openly call lighting "black magic" and emphasize testing different geometries to find what works. (6, 8, 15) Your home is no different:
- Run the same cleaning job three times: blinds fully open, half-closed, and closed with ceiling lights on.
- Compare minutes to completion and rescues in each run.
In my own hallway, the winning setup for a camera-based bot was blinds half-closed plus a single diffused overhead light. Fully open sunlight produced strong shadows at door thresholds; lamp-only in the corner increased its rescue rate around the runner rug.
Room-by-Room Lighting Setup Guide
This is the practical lighting setup guide portion: how to tweak each zone for better robot navigation optimization without turning your home into a lab.
Living room / open-plan area
Goals: stable map, low collision count, reliable object avoidance. For step-by-step lighting scene setups that cut rescues, see our optimal lighting playbook.
- Use one main overhead source (or evenly spaced downlights) instead of relying on a single bright floor lamp.
- If you have big windows, close blinds or sheer curtains partway during scheduled runs to smooth out sun patches on rugs.
- Glossy tile or hardwood: avoid small spotlights aimed straight down; use diffused bulbs or aim floor lamps at walls/ceilings instead.
Impact: Camera-based robots often cut 5-10 minutes off a 40-50 m² open area and reduce random "drunk" pathing when light is even rather than patchy.
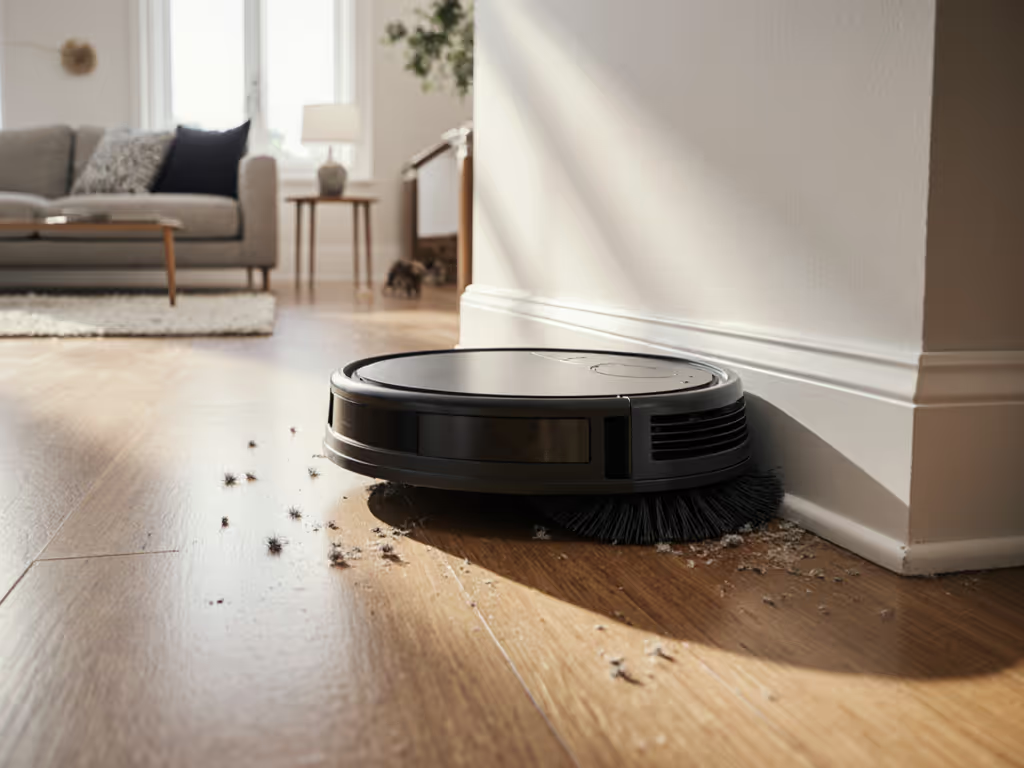
Hallways and bedrooms (nap and meeting zones)
Goals: quiet runs, minimal rescues near doors and thresholds.
- Narrow hallways amplify shadows from doorways. A single low-brightness ceiling light often beats running in full darkness if your robot is camera-based.
- For LiDAR bots, you can usually run with lights off; if you see repeated cliff errors at black thresholds, try a dim nightlight to help the downward sensors. If dark flooring is tripping sensors, see our dark floors troubleshooting guide.
This is where I tested three bots while my kids slept: same crumbs, same runner rug, same thresholds, different lighting. The one I kept wasn't the quietest or the strongest, it was the one whose performance barely changed between "lamp on" and "lamp off." Lowest babysitting, lowest rescue rate.
Kitchens and dining areas
Goals: good edge pickup around table legs, no blind spots under counters.
- Avoid a single pendant light that creates a bright circle under the table and deep shadows elsewhere. If possible, supplement with a softer secondary light.
- If cabinets are glossy or stainless steel, hard reflections can confuse cameras. Slightly dimming overheads or using warmer, diffused bulbs can help.
Outcome: more consistent coverage under tables, fewer occasions where the robot "forgets" a strip near kicks or appliances.
Stairs, lofts, and drop-offs
Goals: no false cliff detection, no map loss near open edges.
- Cliff sensors often use infrared; visible light shouldn't matter much, but extreme dark + dark flooring can increase false cliff readings.
- If the robot refuses to approach the edge in daylight but is fine at night (or vice versa), experiment with a low-level wall light near the drop-off.
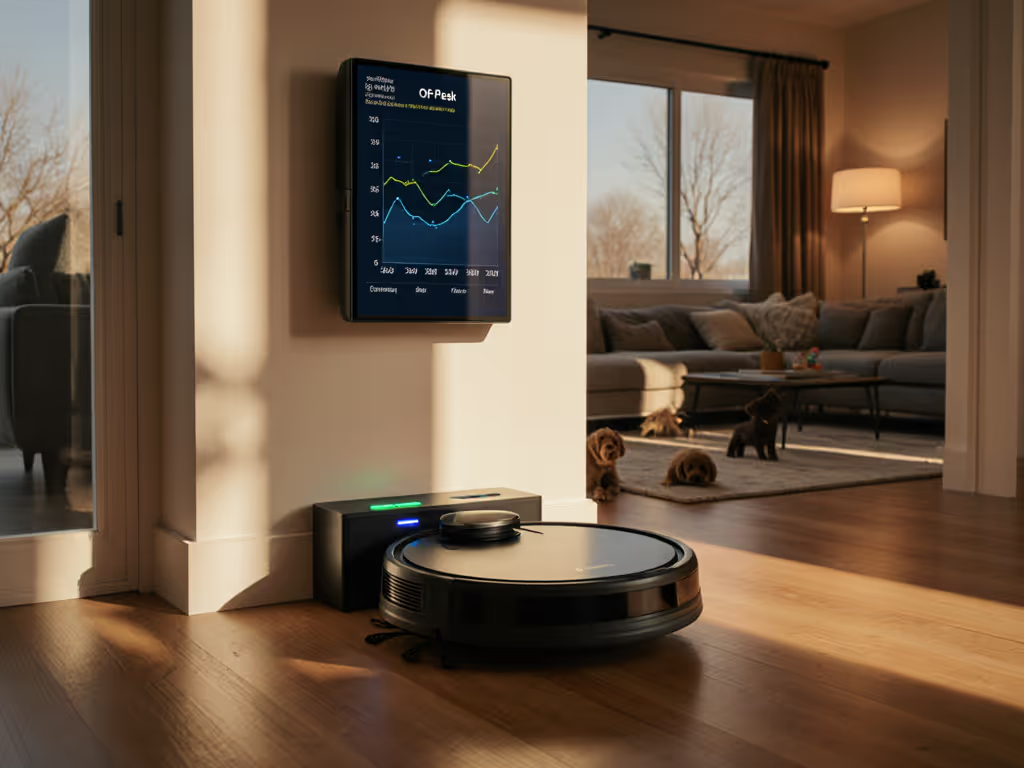
How to Measure Lighting's Impact in Your Own Home
You don't need lab gear. You just need a timer, a notepad, and maybe your phone camera.
Step 1: Pick a test zone
Choose a zone that represents "where life happens": hallway + living room, or kitchen + dining.
Step 2: Hold everything constant except light
- Same furniture layout
- Same starting dock position
- Same cleaning mode (e.g., standard power, single pass)
- Run at roughly the same time of day across tests when possible
Step 3: Test 3-4 lighting setups
For a camera-based robot, try:
- Blinds fully open, no ceiling lights
- Blinds half-closed, ceiling lights on
- Blinds closed, ceiling lights on
- Night, minimal lights (for completeness)
For each run, record:
- Total minutes from start to dock
- Number of rescues (stucks, errors, lost robot)
- Missed zones you can see with the naked eye (e.g., strip along a window, corner behind a chair)
Step 4: Decide what "good enough" looks like
I treat lighting as "optimized" when:
- Run time varies by less than 10% between days under that setup
- Rescues are near zero across a week
- Maps are stable; you're not re-mapping after every firmware update plus a cloudy day
If a small change like closing blinds during a midday run cuts one rescue per run, that's 2-3 interventions avoided per week. Over a year, that's hours of your life back.
When to Ignore Marketing and Trust Your Own Light
Lighting is rarely mentioned in robot vacuum marketing beyond vague "works in low light" claims. Treat those as starting assumptions, not guarantees.
Red flags where your own tests matter more than the box:
- Camera-only robots that claim "works in complete darkness" without explaining how
- Obstacle-avoidance cameras with fine print recommending "adequate lighting" but never defining it
- Review videos filmed under perfect studio lighting, while your home is a mix of shaded hallways and bright windows
In practice, I've seen more reliability gains from fixing illumination for robot vacuum navigation than from upgrading one generation of hardware. A mid-range robot with optimized lighting often outperforms a premium one run in patchy daylight.
Directions for Further Exploration
Once your day-to-day runs are stable, there is still room to experiment:
- Try different schedules by season: winter vs summer sun angles can change where patches land on your floors. You can automate lights and cleaning together with routines from our smart home integration guide.
- Explore a two-pass strategy: LiDAR bots at night (lights off) for coverage, camera-heavy bots in the early evening (lights on) for fine obstacle avoidance.
- Log one month of runs with notes on light setup, run time, and rescues. Simple data like that will quickly show which lighting patterns quietly save you the most minutes per week.
Everything here is about making your robot more boring (in a good way). The right lighting setup turns a fussy, map-losing gadget into an appliance that just finishes the job in your real layout, under your real lamps and windows, with the lowest possible rescue rate.
Related Articles